
How to Edit More Than 200 Rows in SQL Server Management Studio
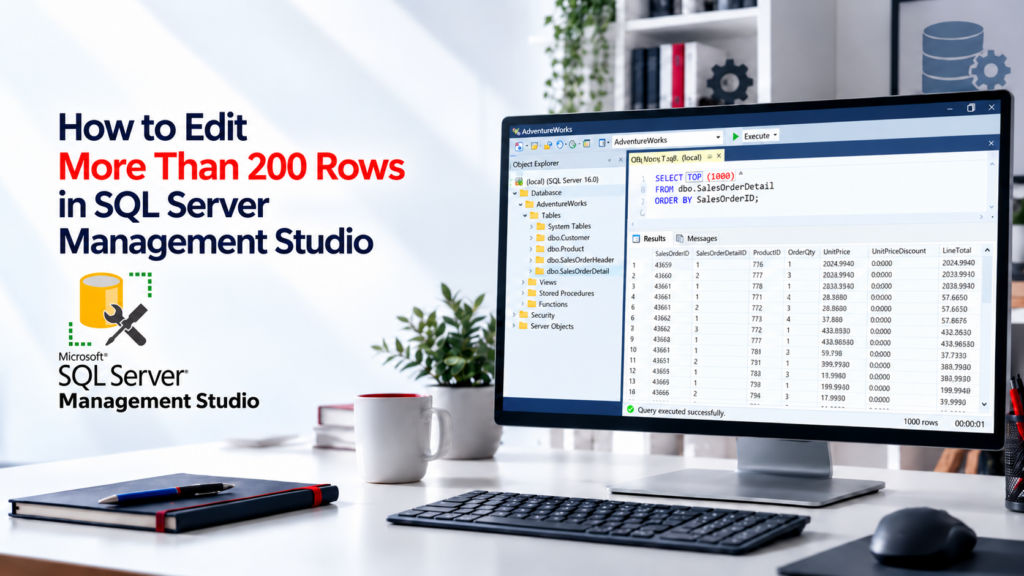
Last updated: October 13, 2026 When you right-click a table in SQL Server Management Studio (SSMS), you may see the Edit Top 200 Rows option. By default, this opens an editable grid containing up to 200 rows. But what if you need to edit 500, 1,000, or more rows? You do not need to modify your table or use a different database tool. SSMS provides two ways to work beyond the default 200-row limit: These methods are useful for SQL Server Management Studio 2008 and versions of SSMS that provide the same editing options. Method 1: Change the Default Edit Top 200 Rows Limit in SSMS If you frequently need to edit more than 200 rows, changing the default setting is the simplest option. Follow these steps: SSMS will now use the new row limit when opening the table’s editable grid. Example: If you change the value from 200 to 1000, SSMS can display up to 1,000 rows for editing instead of 200. Can you set the value to 0? Yes. Setting the value to 0 removes the row limit, allowing SSMS to retrieve all rows. However, this is not recommended for large tables. Loading an entire table into the editing grid may affect performance or make it harder to work with the intended records. For most situations, choose a reasonable limit instead of loading every row. Method 2: Temporarily Edit More Than 200 Rows Using the SQL Pane If you only need to change the limit for a particular table or editing session, you can modify the query without changing your default SSMS settings. Follow these steps: For example, the generated query may look similar to this: To retrieve up to 500 rows, change it to: The editable results should now display up to 500 rows, depending on how many records exist in the table. Important: This method changes the number of rows retrieved for that editing session. It does not permanently change your SSMS default setting. You can also refine the query to retrieve specific records. For example, if you need to work with a particular range of customers, use an appropriate WHERE condition rather than retrieving unrelated rows. What Is the Difference Between Edit Top 200 Rows and Select Top 1000 Rows? These two SSMS options serve different purposes. Option Purpose Edit Top 200 Rows Opens an editable grid for working with table records. Select Top 1000 Rows Opens a query that retrieves records for viewing and analysis. Changing the limit for Select Top Rows does not automatically change the Edit Top Rows limit. If your goal is to edit records through the SSMS grid, make sure you change the Edit Top Rows setting. Alternative: Update Specific Rows Using an SQL UPDATE Statement When you want to change certain records, an SQL UPDATE statement is probably the better option than just editing a huge grid. For example, suppose you want to update the email address of one customer. First, verify the intended record: Then run the update: Always include the correct WHERE condition when you’re updating specific records. If you omit the WHERE clause entirely, the UPDATE statement could end up updating every row in the table. Before making changes to important databases, verify the affected records, confirm your permissions, and follow your organization’s backup and change-management procedures. Troubleshooting: Why Can’t I Edit More Than 200 Rows in SSMS? If the steps above do not work as expected, check the following. 1. The Edit Top Rows Option Still Shows 200 Reopen Tools > Options > SQL Server Object Explorer > Commands and confirm that you changed Value for Edit Top Rows command, not Value for Select Top Rows command. Close the existing editing grid and open it again so the updated setting is applied. 2. You Can View Rows but Cannot Modify Them Check whether your database account has permission to update the relevant table. Also check that the result set is editable. If your query joins multiple tables, uses aggregation or returns rows that SSMS can’t uniquely identify, then it may not be editable in the grid. 3. The Table Contains Thousands or Millions of Rows Increasing the default limit is not always the best solution. Retrieving too many records can slow down the SSMS editing grid. If you only need to modify specific records, use filters or a carefully written UPDATE statement. 4. SSMS Displays “Prevent Saving Changes That Require Table Re-Creation” You may encounter the following error when changing a table’s design: Saving changes is not permitted. The changes that you have made require the following tables to be dropped and re-created. This issue is different from the 200-row editing limit. The warning usually appears when you change a table’s structure, such as a column’s data type, nullability, or position, and SSMS determines that saving the change would require re-creating the table. You can find the related setting under: Tools > Options > Designers > Table and Database Designers Look for Prevent saving changes that require table re-creation. Although this option can be turned off, doing so is generally not recommended. Re-creating a table can introduce risks, including the loss of certain metadata or data. For structural changes, use a reviewed database migration or the appropriate ALTER TABLE statement rather than disabling the safeguard to get around the warning. Frequently Asked Questions How do I change Edit Top 200 Rows to Edit Top 1000 Rows in SSMS? Go to Tools > Options > SQL Server Object Explorer > Commands. Under Table and View Options, change Value for the Edit Top Rows command from 200 to 1000, and click OK. Can I edit all rows in SQL Server Management Studio? You can set the Edit Top Rows value to 0 to remove the default limit. However, loading all records is not recommended for large tables. Use a reasonable limit or target specific rows instead. Does changing the Edit Top Rows setting modify my database? No. Changing the setting only affects how many rows SSMS
Insert Generator Script
By executing the following stored procedure we can create insert statement for all records in a table EXECUTE [InsertGenerator] ‘tableName’. SET ANSI_NULLS ON GO SET QUOTED_IDENTIFIER ON GO CREATE PROC [dbo].[InsertGenerator] (@tableName varchar(max)) as –Declare a cursor to retrieve column specific information for the specified table DECLARE cursCol CURSOR FAST_FORWARD FOR SELECT column_name,data_type FROM information_schema.columns WHERE table_name = @tableName OPEN cursCol DECLARE @string nvarchar(max) –for storing the first half of INSERT statement DECLARE @stringData nvarchar(max) –for storing the data (VALUES) related statement DECLARE @dataType nvarchar(max) –data types returned for respective columns SET @string=’INSERT ‘+@tableName+'(‘ SET @stringData=” DECLARE @colName nvarchar(max) FETCH NEXT FROM cursCol INTO @colName,@dataType IF @@fetch_status<>0 begin print ‘Table ‘+@tableName+’ not found, processing skipped.’ close curscol deallocate curscol return END WHILE @@FETCH_STATUS=0 BEGIN IF @dataType in (‘varchar’,’char’,’nchar’,’nvarchar’) BEGIN –SET @stringData=@stringData+””””’+isnull(‘+@colName+’,””)+”””,”+’ SET @stringData=@stringData+””+”’+isnull(””’+””’+[‘+@colName+’]+””’+””’,”NULL”)+”,”+’ END ELSE if @dataType in (‘text’,’ntext’) –if the datatype is text or something else BEGIN SET @stringData=@stringData+””””’+isnull(cast([‘+@colName+’] as varchar(2000)),””)+”””,”+’ END ELSE IF @dataType = ‘money’ –because money doesn’t get converted from varchar implicitly BEGIN SET @stringData=@stringData+”’convert(money,”””+isnull(cast([‘+@colName+’] as varchar(200)),”0.0000”)+”””),”+’ END ELSE IF @dataType=’datetime’ BEGIN SET @stringData=@stringData+”’convert(datetime,’+”’+isnull(””’+””’+convert(varchar(200),[‘+@colName+’],121)+””’+””’,”NULL”)+”,121),”+’ END ELSE IF @dataType=’image’ BEGIN SET @stringData=@stringData+””””’+isnull(cast(convert(varbinary,[‘+@colName+’]) as varchar(6)),”0”)+”””,”+’ END ELSE –presuming the data type is int,bit,numeric,decimal BEGIN SET @stringData=@stringData+””+”’+isnull(””’+””’+convert(varchar(200),[‘+@colName+’])+””’+””’,”NULL”)+”,”+’ END SET @string=@string+'[‘+@colName+’],’ FETCH NEXT FROM cursCol INTO @colName,@dataType END DECLARE @query nvarchar(MAX) SET @query =’SELECT ”’+substring(@string,0,len(@string)) + ‘) VALUES(”+ ‘ + substring(@stringData,0,len(@stringData)-2)+”’+”)” FROM ‘+@tableName exec sp_executesql @query CLOSE cursCol DEALLOCATE cursCol Have questions? Contact the technology experts at InApp to learn more.
How to Clear SQL Server Transaction Log
In some cases, the Microsoft SQL Server Transaction Log (.LDF) file becomes very huge. It’s wasting a lot of disk space and causing some problems if you want to back up and restore the database. We can delete the log file and create a new log file with the minimum size. To delete SQL server transaction log files, follow the steps given below: Right-click on the database => Tasks => Detach 3. Delete or rename the big log file (path:C:\Program Files\Microsoft SQL Server\MSSQL10_50.MSSQLSERVER\MSSQL\DATA) 4. Attach the database againRight-click Databases => Attach On Attach Database box, click Add… Browser to the database (.mdf) file then click OK Select the log (.ldf) file then click Remove Finally, click OK. You can see the new log file with the minimum size. Have questions? Contact the technology experts at InApp to learn more.