Nowadays, most, software applications are written as web-based applications to be run in an Internet browser. Independent software testing provides key contributions in making sure the user experience and expectations are met to the highest level. The software industry is currently going through a highly competitive phase as Darwin says-“Survival of the fittest”; this is what will be noticed in this industry too.
In order to survive the competition, the capabilities and incapabilities of a software application need to be tested. This includes testing for functionality, usability, and compatibility of the application across the environments it is used on. Along with this, a very important aspect is Performance Testing.
Performance testing is a type of non-functional testing that is mostly recommended for business-to-business, business-to-customer applications. Performance testing can be categorized into load testing, stress, volume testing, etc.
Common questions asked are,
- Will our application handle the load or, will it fall apart under load?
- How many users can our application handle, simultaneously?
- At what point does the server crash?
Performance testing may answer the above questions. The cause of performance-related issues varies with the architecture and configuration of the application. Poor software, network configuration, poorly optimized software code, hardware configuration, etc. are some of the common reasons for performance degradation. One of the best and most emerging tools available to identify ‘performance issues’ in the market is NeoLoad.
NeoLoad Tutorial
NeoLoad was introduced by “Neotys” as a performance-testing solution for web and mobile applications. NeoLoad becomes popular with its simplicity in usage and easiness of analyzing reports. It allows, tracking statistics of the application infrastructures such as OS, database, and networks, along with the usual response time.
Recording scenarios and analyzing its result in NeoLoad is just a 3-step process:-
Installation
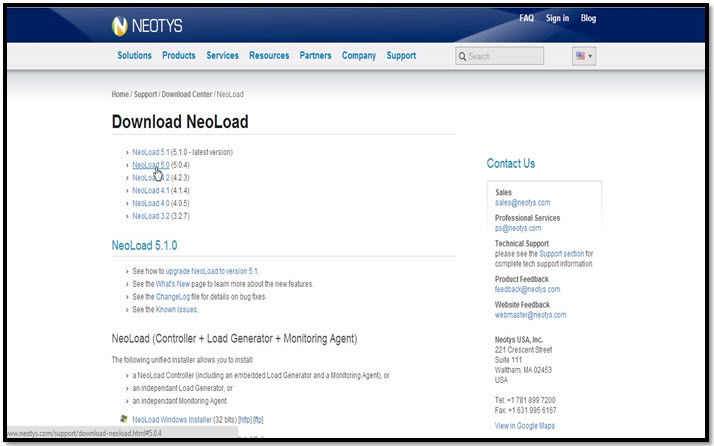
1) Download and install NeoLoad (for Windows) from the Neotys website
1.1) Install the downloaded exe file to your system.
Designing Test Scenario
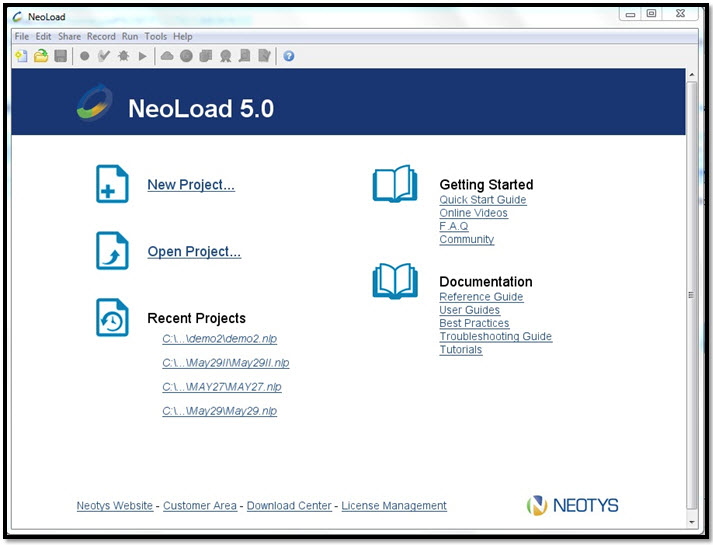
1) Open NeoLoad and create a project.
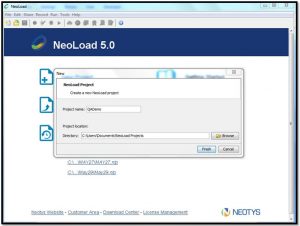
1.1) Select the “New Project option”. N3
1.2) Enter the project name and click Finish, NeoLoad design UI will appear.
The design page contains three sections:
- Virtual Users– NeoLoad records the scenarios under the virtual user section, for the free version user can create up to 50 virtual users. To know more about virtual users click here.
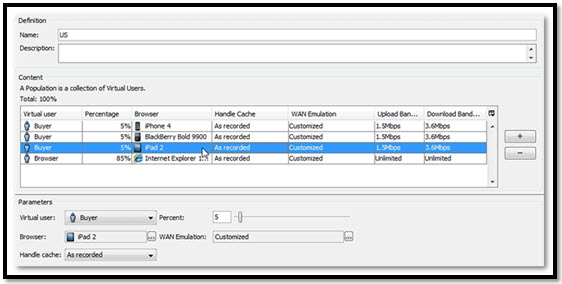
- Populations– Populations are a group of virtual users, mainly used for monitoring the application behavior in different ways. Eg: an e-com application can be tested by simulating 60% of users browsing the site, and 40% making transactions under different browsers. To know more about populations click here.
- Monitors– NeoLoad supports monitoring of OS, Networks, Databases, Web/EJB Tier, etc. Adding and configuring monitoring machines are allowed through the monitor tab. For more details click here.
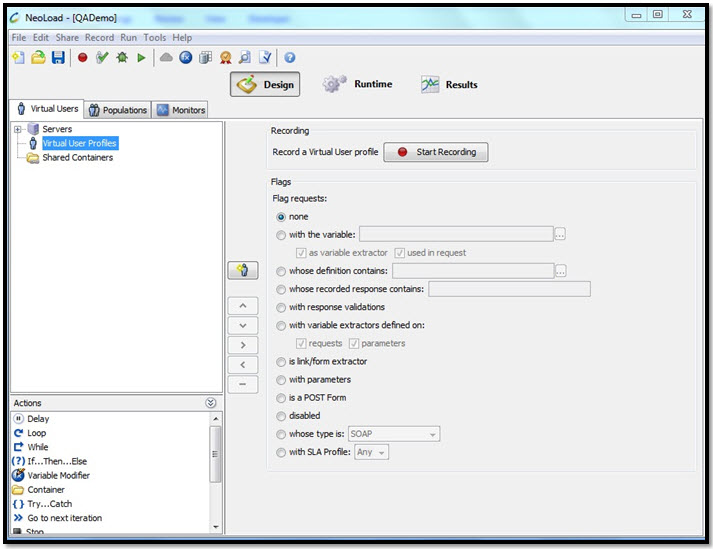
1.3) Recording with NeoLoad – virtual users can be created automatically by clicking the start recording button.
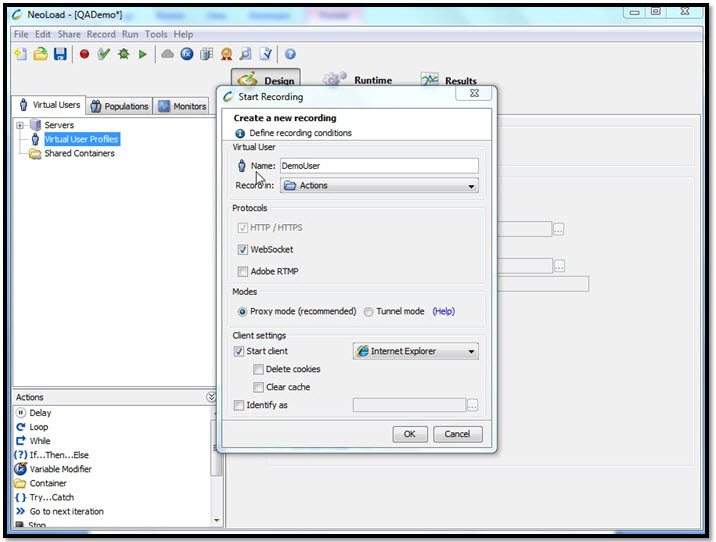
After clicking the ‘OK’ button NeoLoad Container will open along with the selected browser window.
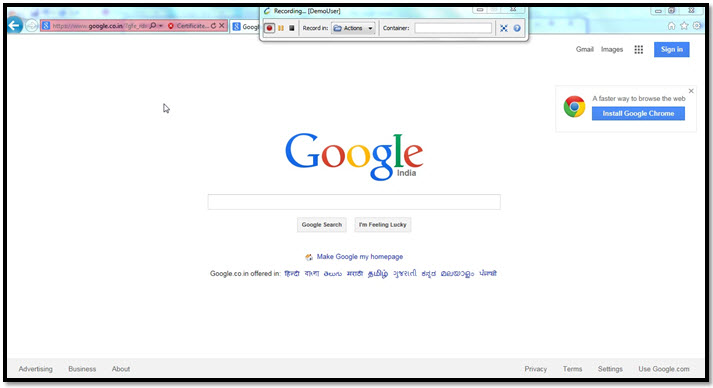
- Open the application and enter the Container name in the provided text box. In the above example, ‘google.com’ is the test site and the container name given is “Searching NeoLoad”. Based on the actions, the user can change the container name by just renaming the existing name- the rest of the actions will be recorded under the new container name. The reference video of the NeoLoad recording is here.
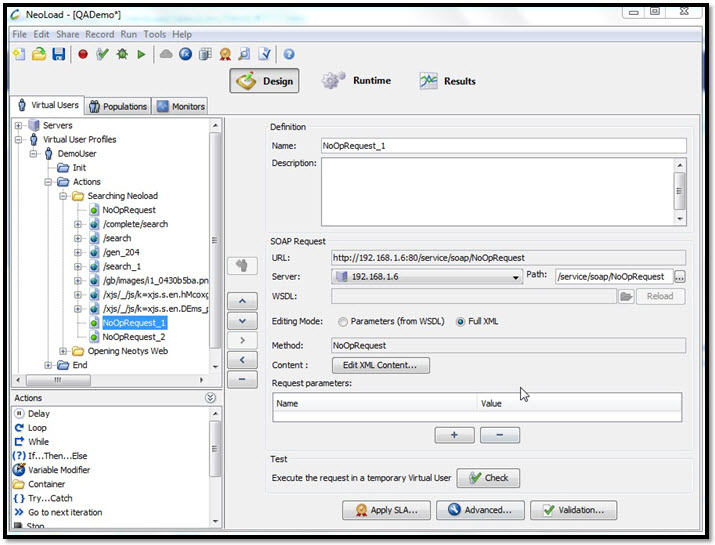
- The recorded scenario will be listed under virtual user profile containers as shown below.
- Users can apply conditions and loops just by dragging them from the actions menu. The selected request can be edited from the right-hand side.
Running and Analyzing Results
1) For running the recorded scenario a population should be created from the population tab.
- Go to populations
- Click on the ‘+’ button, enter the name, and click OK to save.
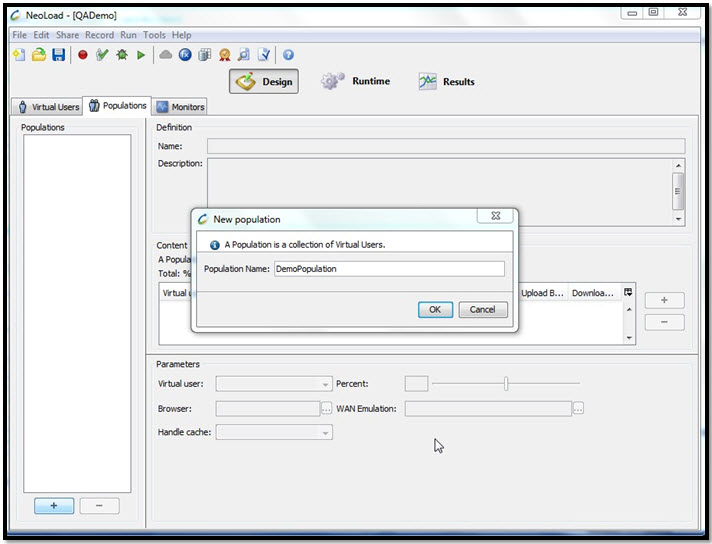
- In our example, we created only one virtual user, so that user scenarios are running by giving 100% population.

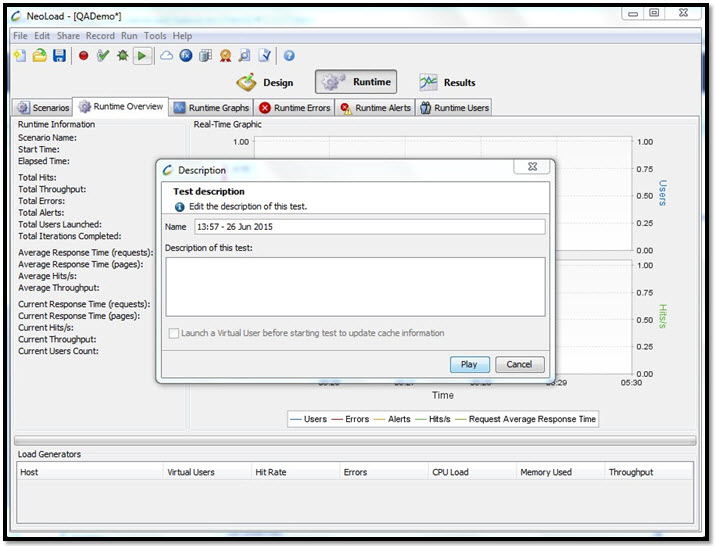
- After creating the population, assign that population to the runtime scenario.
- The settings required to run the load test are defined under this scenario page.
- After configuring the scenario page, the load test scenarios can be run by clicking the play button.
- After running the scenario a report will be generated.
- The generated report can be exported to PDF, HTML, XML, and Word formats.
- Select “Tools” from the ‘Test Summary’ page
- Then select “Generate Reports” from the “Tools” menu
- Then select the report type
- Then customize the report’s contents
- From the output options page, select the output format and click Finish to generate the report.
- The generated report can be compared with a predefined set of values using SLAs.

SLA (Service Layer Agreements): It allows the user to set a baseline for performance statistics. By applying SLA user can compare the values in generated report with a predefined set of values.
Neotys provides a wide range of support to their product NeoLoad through their blogs, websites, and communities.
Have questions? Contact the performance testing experts at InApp to learn more.