One of the functions of SSL is to authenticate the identity of webservers. To intercept traffic between your browser and webservers, Burp needs to break the SSL connection. This causes a security warning in your browser because it detects that it is not communicating directly with the authentic web server. Burp generates an SSL certificate for that host which is signed by the CA certificate. Burp’s CA certificate can be installed as a trusted root in your browser so that the per-host certificates are accepted without any alerts.
Installing Burps SSL certificate is detailed in the following procedures.
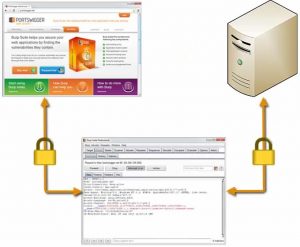
Browser making an SSL connection.

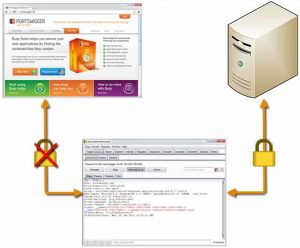
Burp is to break the SSL connection.
This causes a security warning in your browser because it identifies that it’s not directly communicating with the authentic web service.
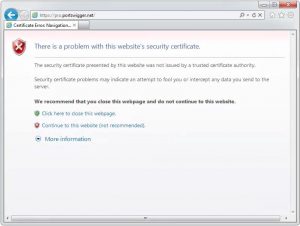
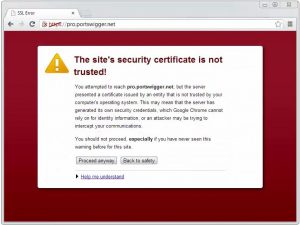
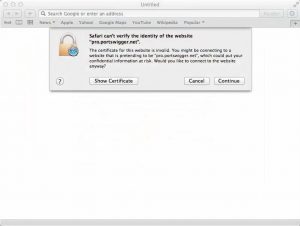
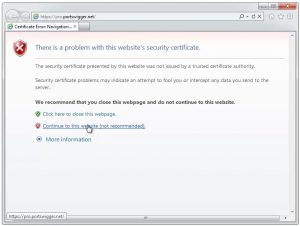
This how the SSL warning looks like in different browsers:
IE
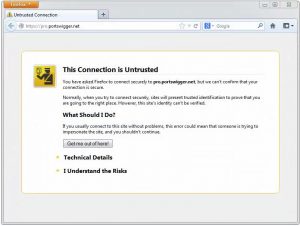
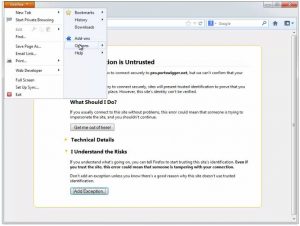
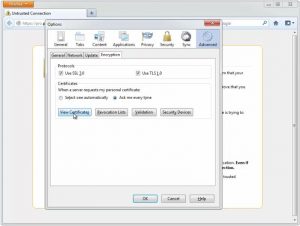
Mozilla Firefox
Chrome
Safari
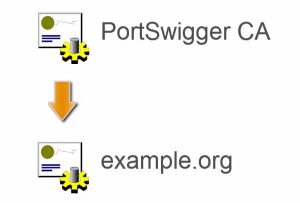
To allow HTTPS websites to load properly they use their own certificate authority.
Then creates an SSL certificate for each host you visit and signs this using the CA certificates.
To prevent security warnings you should install a Burp CA certificate as a trusted root in your browser. This will cause your browser to trust the SSL connections that it makes to Burp.

Installing SSL certification is simple but the details depend on your browser.
IE – should first launch IE as Administrator.

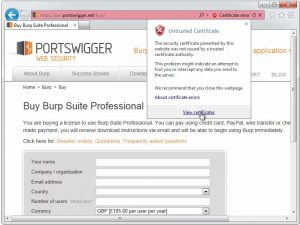
Then using Burp as your proxy visit any HTTPS URL and click “Continue to this website (not recommended)”.
Click on ‘Certificates Error’ and ‘View Certificates’.
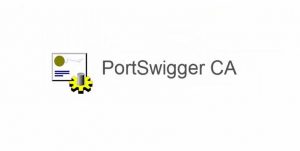
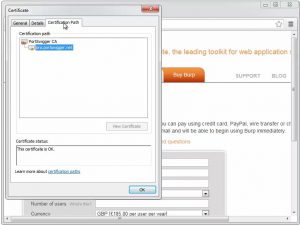
Go to ‘Certification Path’ and select ‘PortSwingger CA’ and ‘View Certificate’.
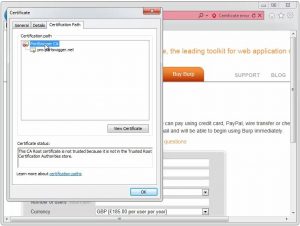
This displays the Certificate screen.
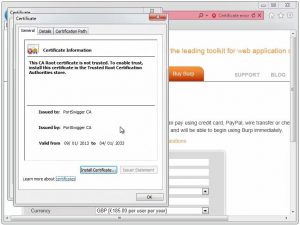
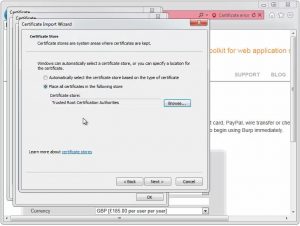
Click on ‘Install Certificate’ and in the wizard click ‘Next’.

Select “Place all certificates in the following store”, browse and select “Trusted Root Certification Authorities”. Click ‘Next’ and then ‘Finish’.
Confirm the action and restart IE. Now you will be able to visit any HTTPS URL without any warnings.

Mozilla Firefox – Using Burp as your proxy visit any HTTPS URL.
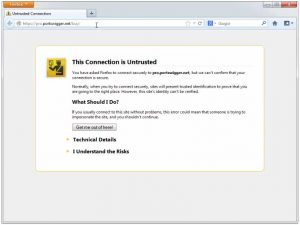
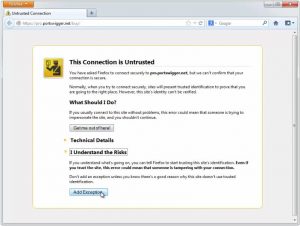
Click ‘I Understand the Risks’ and ‘Add Exception’.
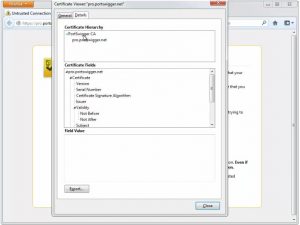
View the certificate and from the ‘Details’ tab select ‘PortSwingger CA’, ‘Export’ the certificate, save it somewhere and close all pop-ups.
Go to ‘Options’.
From the pop-up select ‘Advanced’ –> ‘Encryption’ –> ‘View Certificate’.
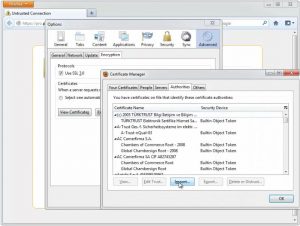
Click ‘Import’.
Select the certificate that you have saved and select the check box ‘Trust this CA to identify websites.’ Click ‘Ok’ on all pop-ups to close. Now you should be able to visit any HTTPS URL without warning messages.
Chrome – It uses the certificate from the trust store of your host computer. Normally, if you install Burp using the default browser of your computer, chrome will use this.
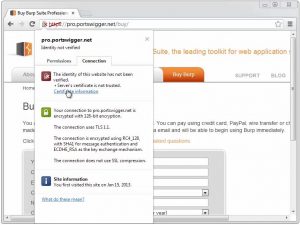
Using Burp as your proxy visit any HTTPS URL and click on ‘Proceed anyway’ and click on the broken lock and view the certificate information. This will link you to the relevant settings on your host computer.
Click on ”PortSwingger CA” certificate.

Safari – Visit any HTTPS URL using Burp as your proxy. Click ‘show certificate’ and select ‘Portswingger CA’ certificate.
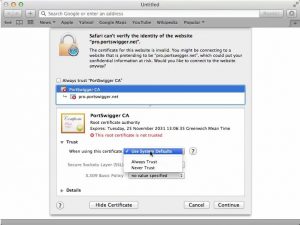
Click on ‘Trust’ and select the option ‘Always Trust’.

Click ‘Continue’ and enter the password, if you need to update the settings.
Now you will be able to visit any HTTPS URL without warning messages.
Have questions? Contact the technology experts at InApp to learn more.